Adding Files to KommerceServer CMS
You can add images to your KommerceServer website using the built in CMS tools. Perform the following steps to add an image to your KommerceServer site using the CMS tool.
- Navigate to the page that you want to add an image to.
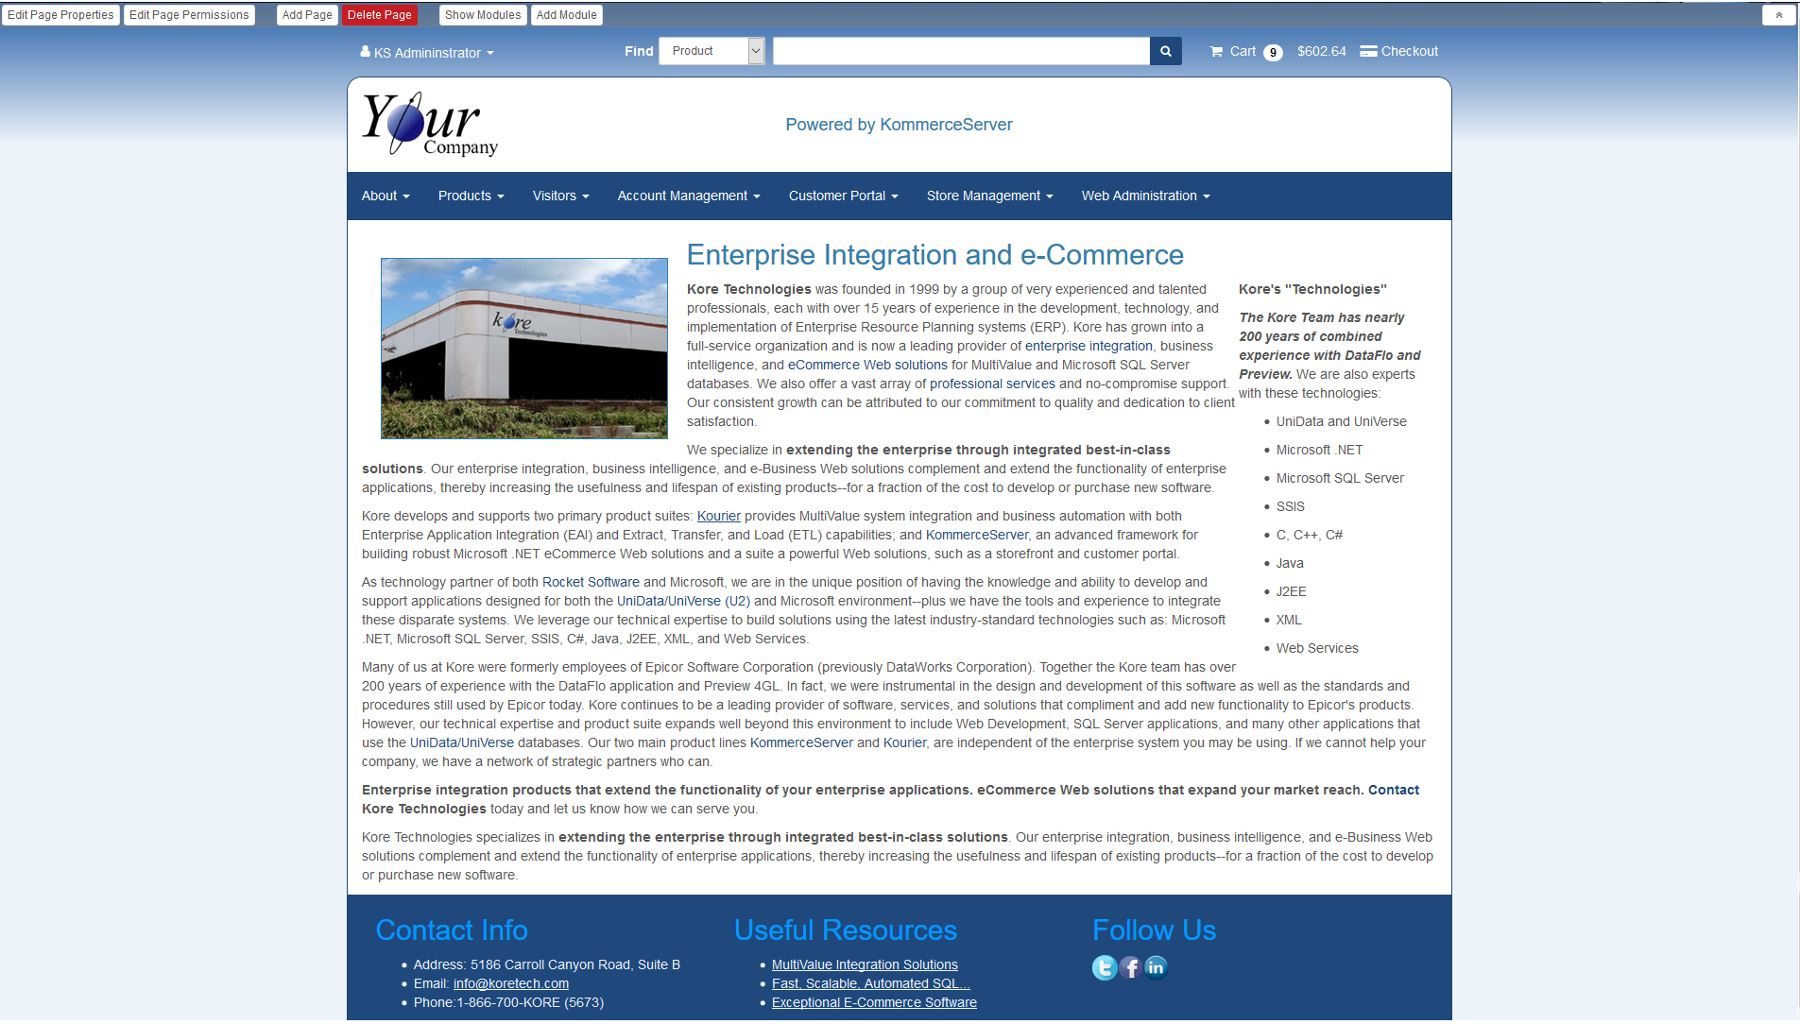
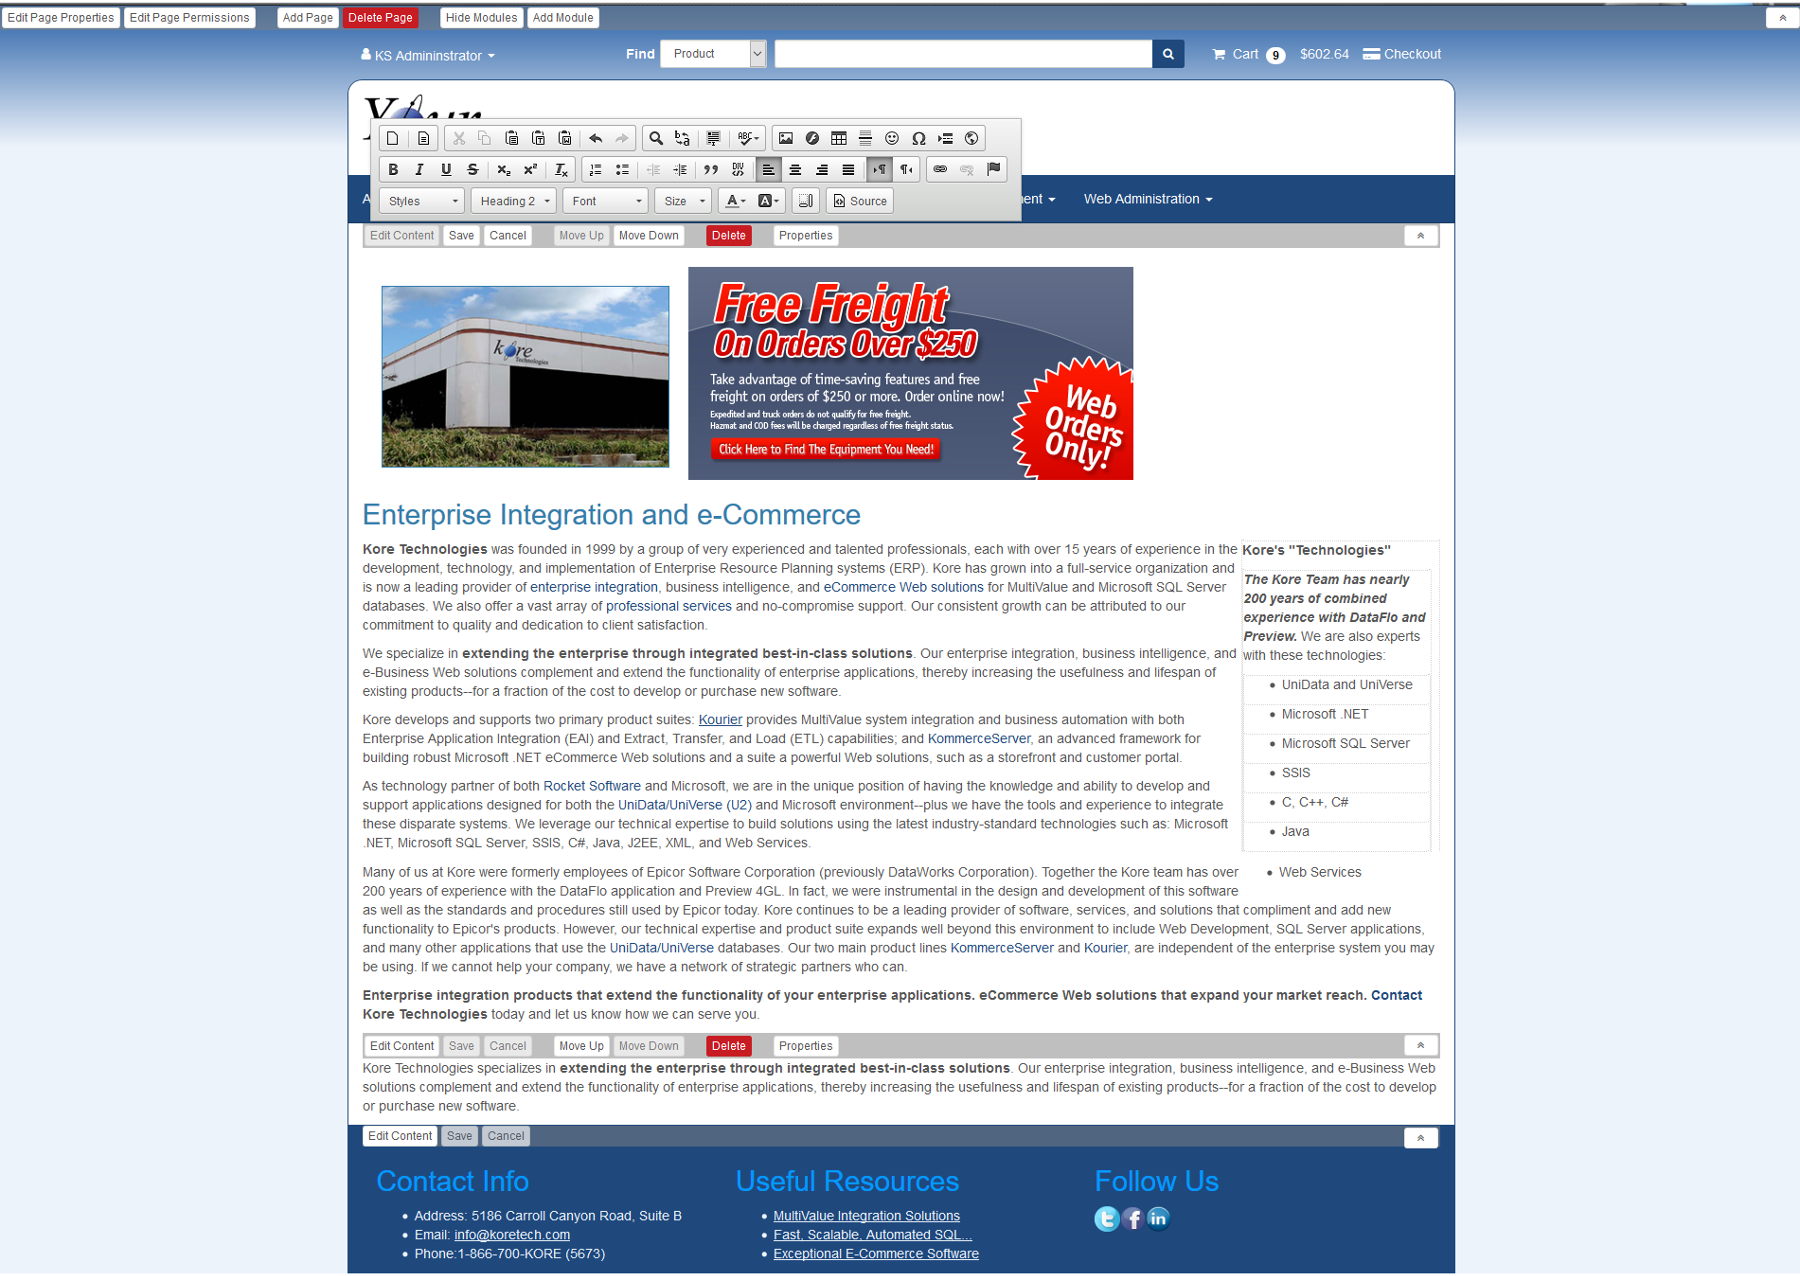
- Click the arrow in the upper right hand corner of a KommerceServer page to view the CMS options for that page. Once you have clicked the CMS arrow, the CMS options for that page appear at the top of the page as shown below.
- Click the Show Modules button to view the CMS modules on the page.
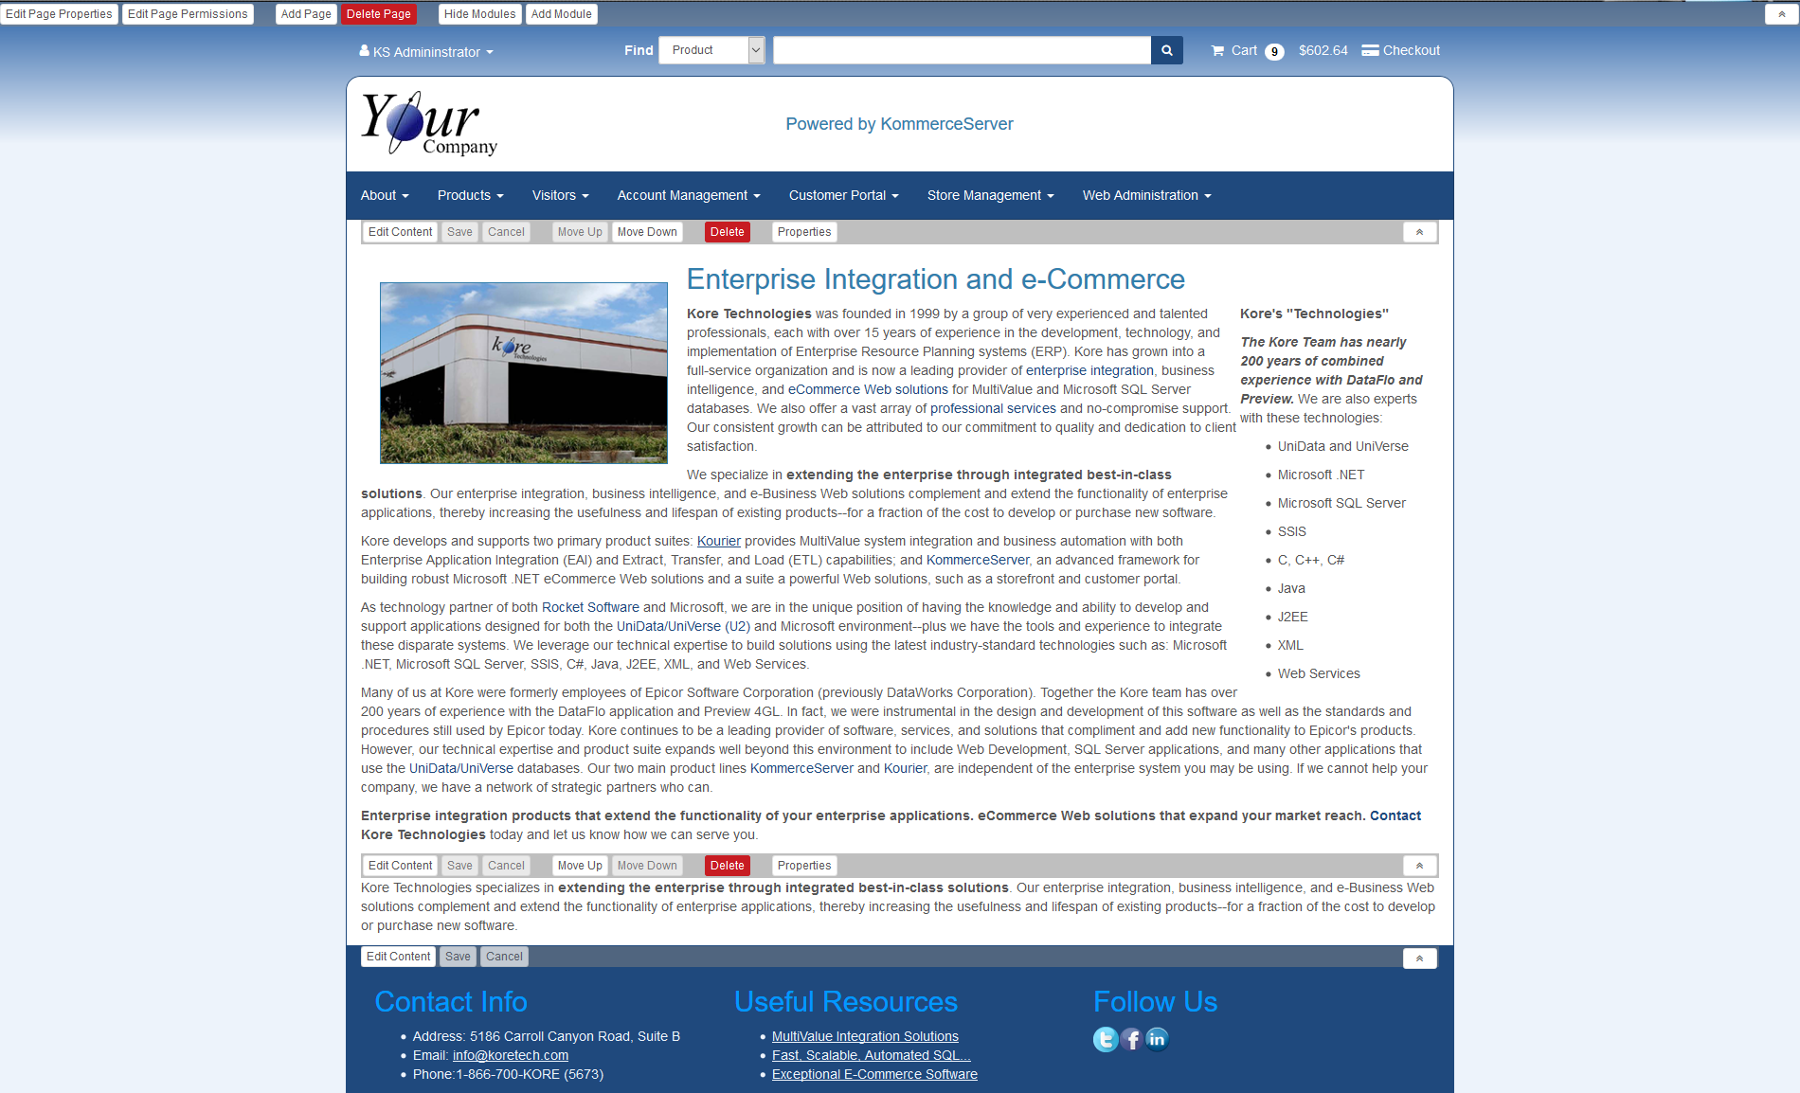
- Click the Edit Content button that appears next to the module that you want to add an image to. A formatting/image tool appears.
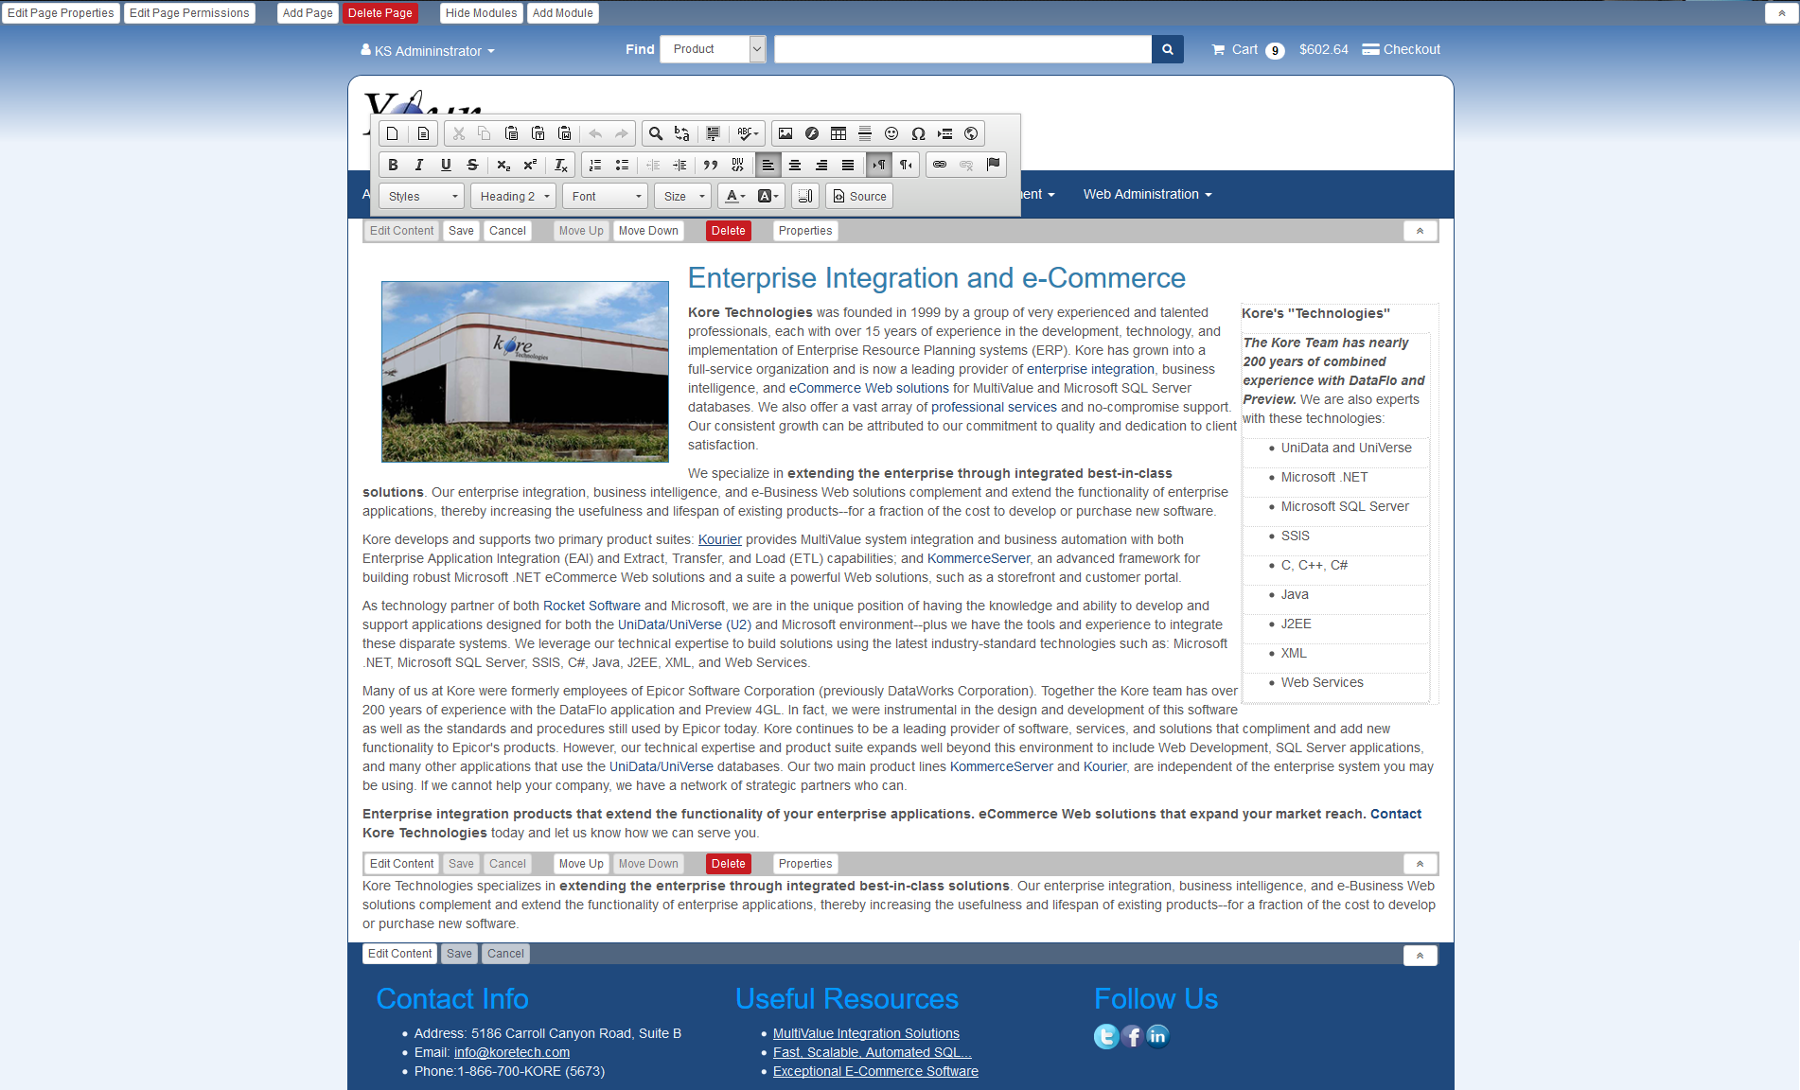
- Click the image icon
 on the toolbar. The Image Properties window appears.
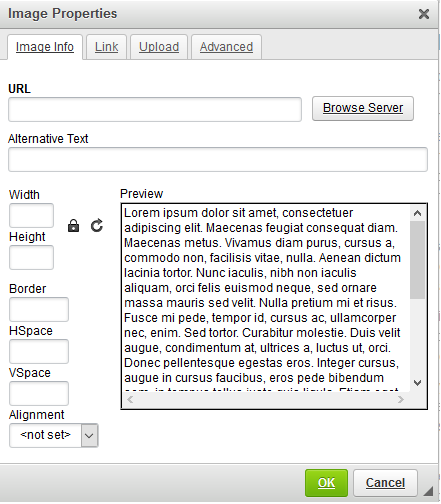
- Use one of the following options to add an image to the page (the Upload tab only allows you to upload an image from your hard drive to the web server).
- On the Image Info tab:
- Click the Browse Server button and navigate to the folder that the image resides in.
- Enter any alternative text for the image in the Alternative Text field.
- If desired, you can adjust the width and height of the image in the Width and Height fields, respectively.
- To add a border, enter a number (in pixels), in the Border field.
- To enter a horizontal and vertical space for the image (in pixels), enter it in the HSpace and VSpace fields, respectively.
- Select a left or right alignment for the image in the Alignment drop-down menu.
- On the Link tab:
- Click the Browse Server button and navigate to the folder that the image resides in.
- Select a target window in the Target drop-down menu.
- On the Upload tab (this tab is used for uploading images from your hard drive to the web server):
- Click the Browse button and navigate to the folder that the image resides in.
- Select an image from your local drive and click the Open button.
- Click the Send it to the Server button to upload the image to the web server. From there you can add the image to the web page using one of the options described in this section.
- On the Advanced tab:
- Enter a custom image id for the image in the Id field.
- Select a language direction in the Language Direction field.
- For a language other than English, enter the language code in the Language Code field.
- Enter a long description URL for the image in the Long Description URL field.
- Enter any stylesheet classes you want to use for the image in the stylesheet classes field.
- Enter an advisory title for SEO purposes in the Advisory Title field.
- Click OK to add the image to the web page. The image appears on the page.
Once you have added the image to the page, you can re-size the image by clicking on it and dragging the anchor points to where you want them. You can also click on the image and use the drag-and-drop method to move it to a different area of the page. To delete an image that you have added, simply click on it and press the Delete button on your keyboard.
- Click the Save button to save your changes.